 Tweet
Tweet
Hi all
I had asked in another thread some opinions about 4 by 4's that were treated if I could use a foam insert to help level out any possible warping..
But some people wanted to see the whole thing... and I would like to explain my rationale
First, This room is built out of salvage, scrap and pieces of left over two by fours that others have thrown away. My stepson who was living with us at the time, built a fish room in our basement of our house. He got bored and disgusted and then I inherited the fish room......
I have had fish all my life from when I was 7 or 8 (now I am almost 55) and for almost 32 years have had African Cichlids..
So getting the fishroom for nothing was a bonus....
I am retired/disabled (no one wants a deaf person around them) and so money is an issue... Thats why I am a scavenger and will not throw things away.
The other thing is that we downsized our 3 bedroom, two story high, double car garage and basement home to a single level, single garage, two bedroom with no basement duplex... cheaper, easier to heat and maintain.
But now we have to be extreme effiecient to the maximum possible. We have bunk beds, My wife sleeps on the top and I on the bottom as it gives us more room in the bedroom.. She is not crazy about it... but it works..

So here we go....
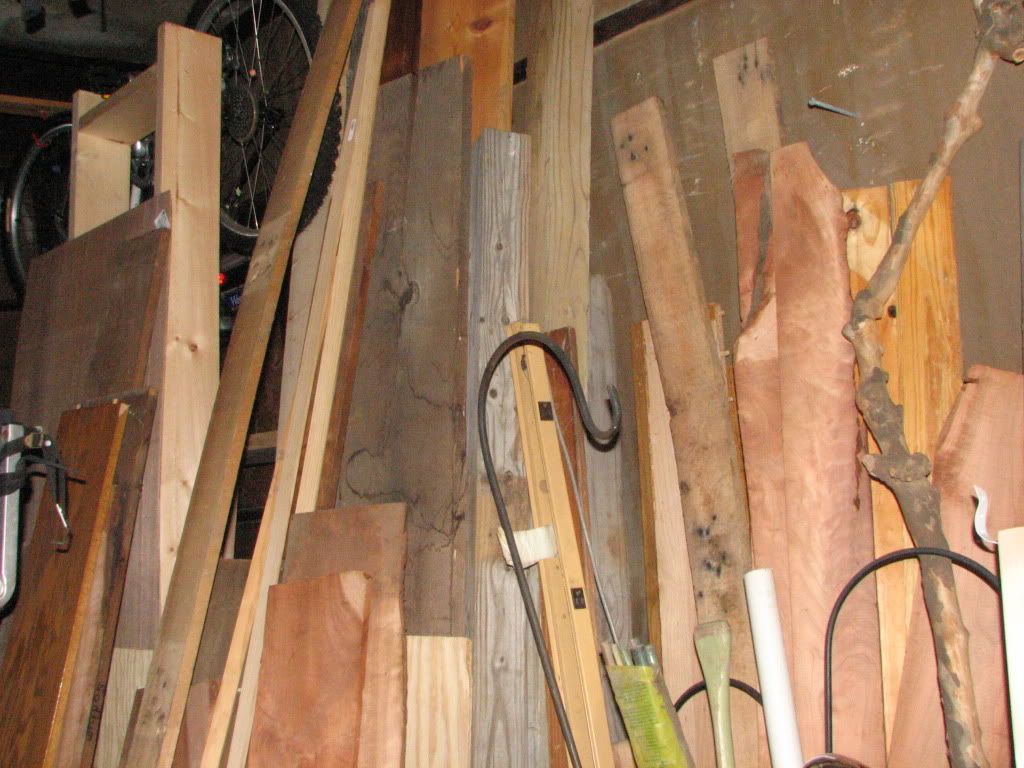
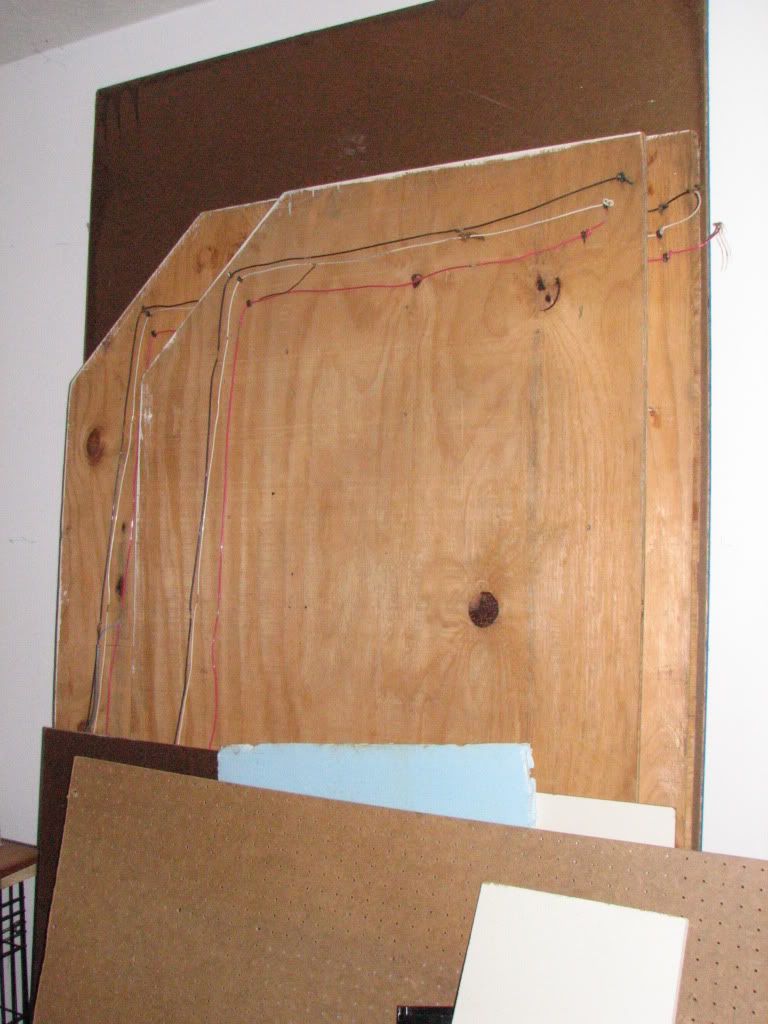
Understand that the first set of pictures your going to see is wood that came out of a salvaged swing set with fort attached to it... the wood was painted blue and had been up in the yard for over two years.. Sooo this is where the upright posts came from as well as some of the top braces.. Don't laugh... The stepson paid over three hundred dollars for the wood and I was darned if I was going to let it be burned up.
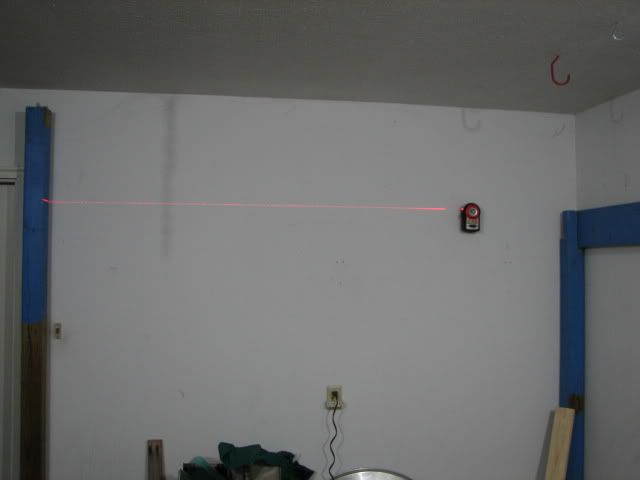
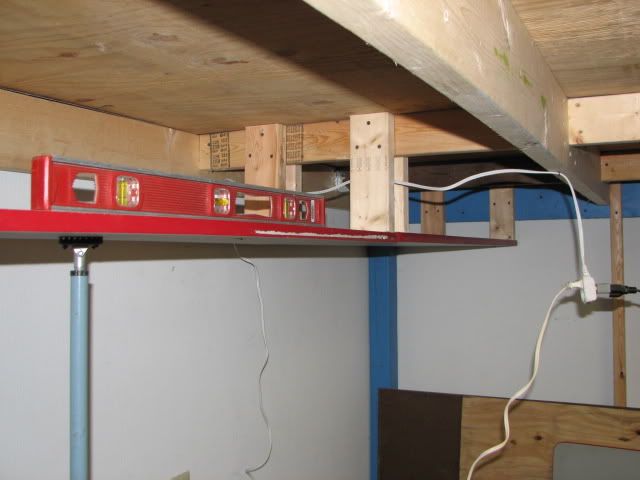
One of my first purchases was to replace a wall laser unit that gives a good plumb level. Notice the following pictures
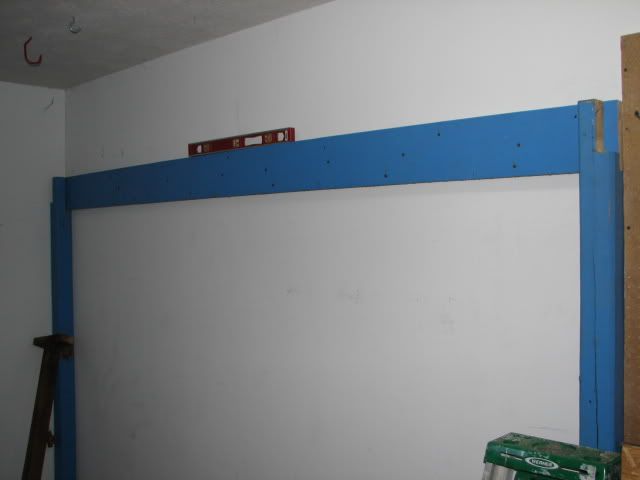
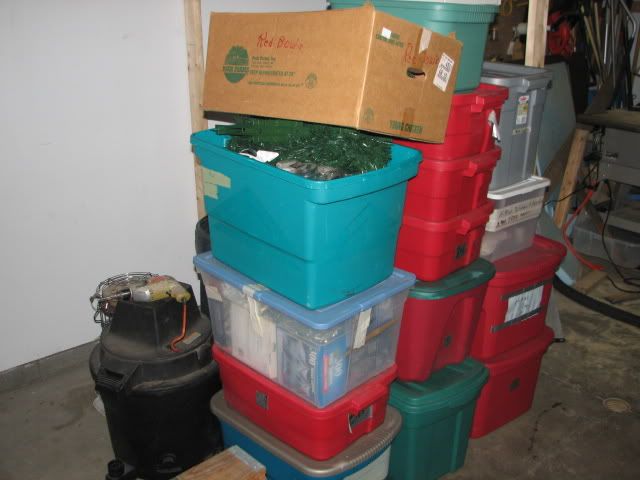
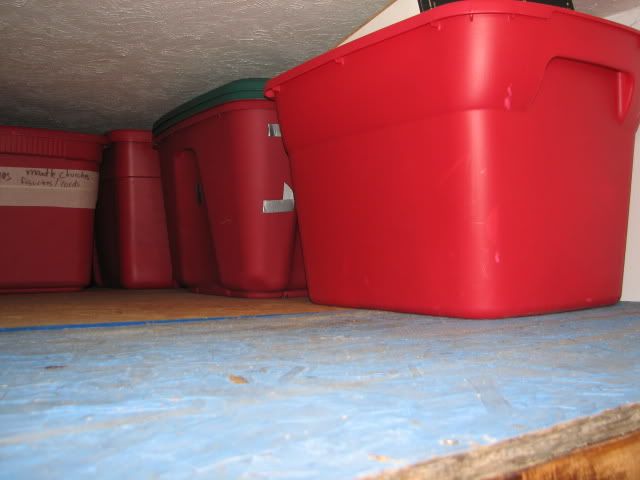
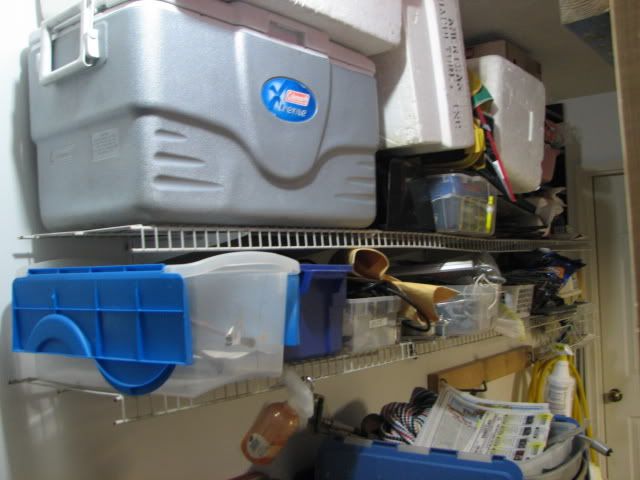
I put the height of the room at 79 inches in order to give me 19 inches clearance on the top for all the totes that will be stored eventually up there.
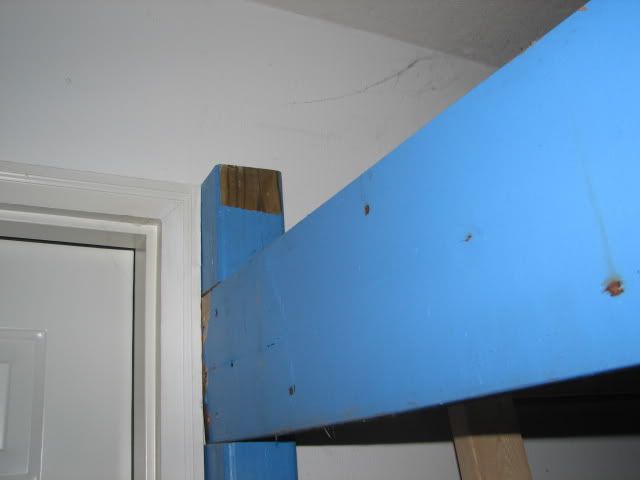
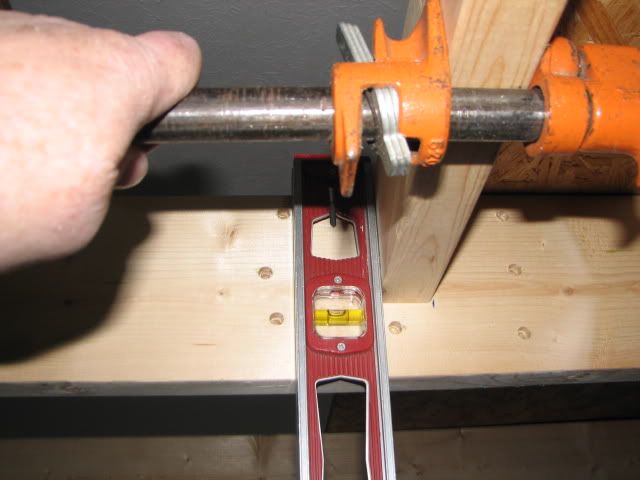
Next picture is making marks for the line up of the cutting of the 4 by 4's uprights.
You will notice that I have a level for the upright portion and then the laser line on where it needs to be cut from the other upright post which was also marked accordingly.
The next picture shows I pretty much got the cut to the point of where I wanted it.
The older wall laser I was using was only opened on one side and on the top side. It fell and I could not get it repaired so went out a got a new one for 39 dollars that had the openings on both sides and top side... it also had some other features like being able to pin into the wall. The laser assembly does not need to be straight in itself as it is a auto weighted assembly and will be level in any setting.
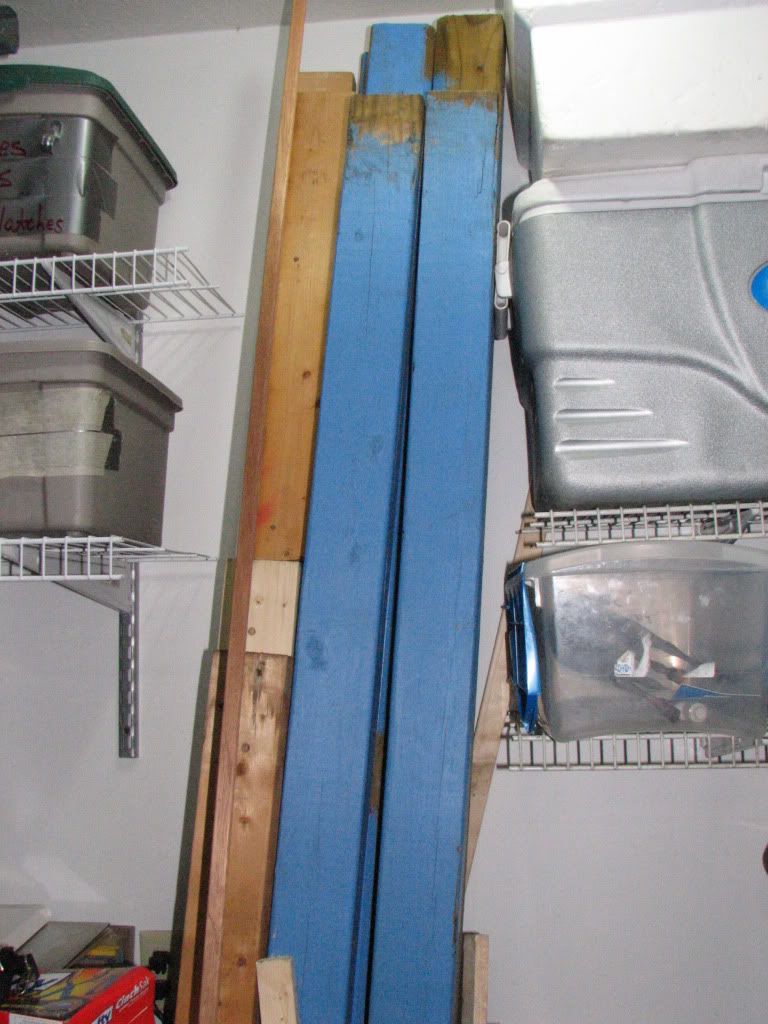
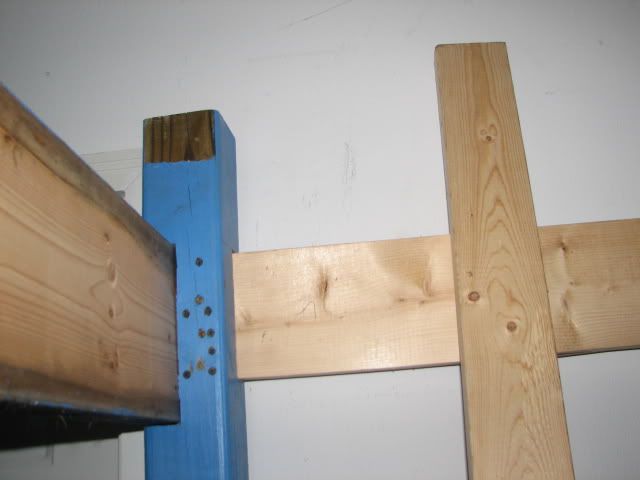
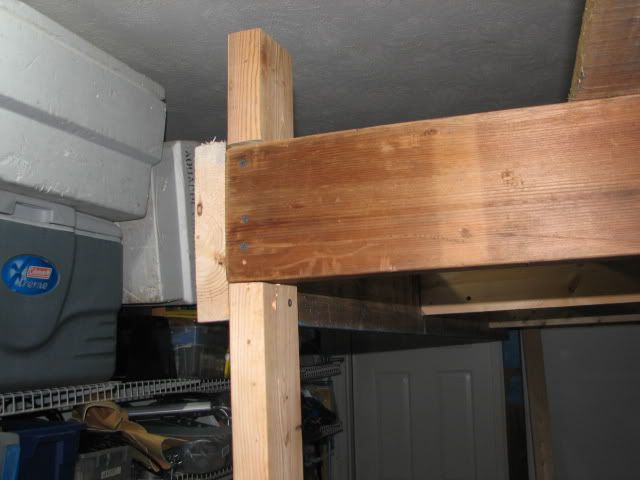
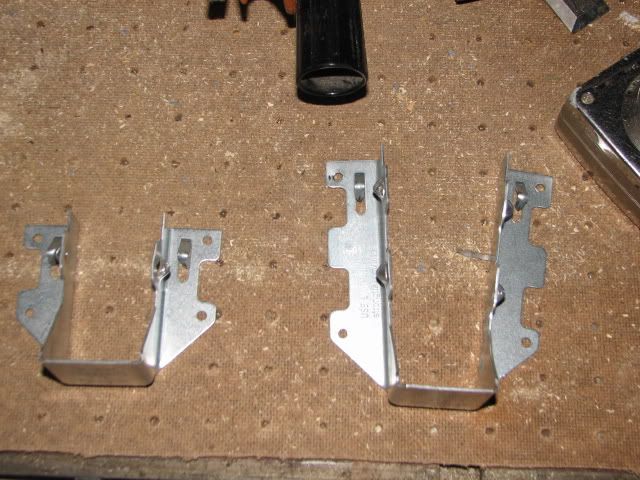
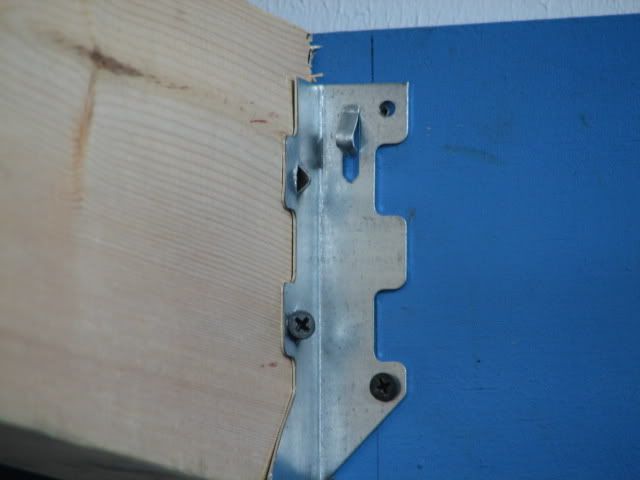
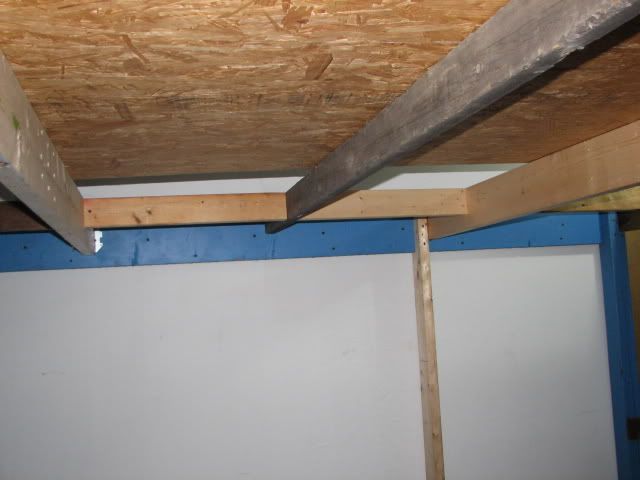
The next two pictures are of notching the 4 by 4's in order to keep the braces level with the posts and also because the wall that this is shown on is the wall to the next door garage and it has no insulation... By having the braces level with the posts.. I am able to insulate with blue foam from top to bottom.
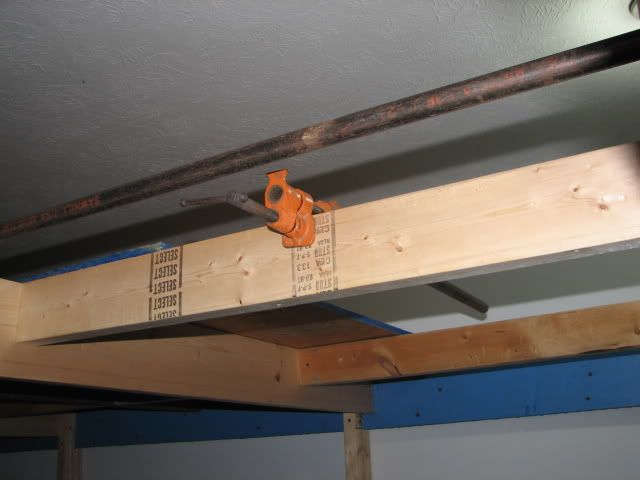
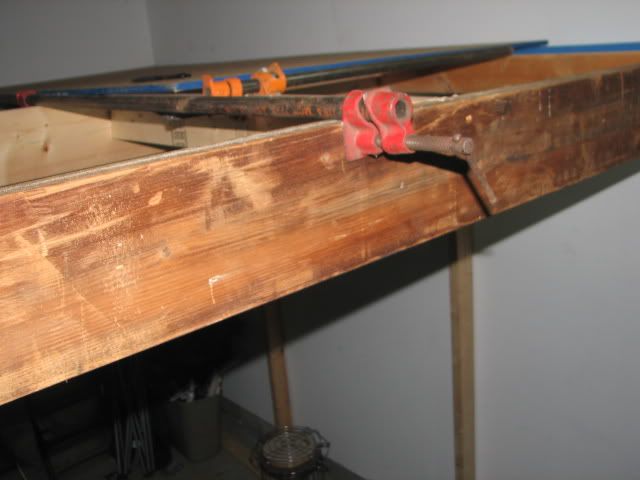
and the following braces going from one end to the other end and the top brace is completely level.
Now you see the beginning.... and do understand I had to do all of this myself... No help from anyone else and so had to make do with creativity to be able to make this work. So far it has been a major blessing.
Bill
I had asked in another thread some opinions about 4 by 4's that were treated if I could use a foam insert to help level out any possible warping..
But some people wanted to see the whole thing... and I would like to explain my rationale
First, This room is built out of salvage, scrap and pieces of left over two by fours that others have thrown away. My stepson who was living with us at the time, built a fish room in our basement of our house. He got bored and disgusted and then I inherited the fish room......
I have had fish all my life from when I was 7 or 8 (now I am almost 55) and for almost 32 years have had African Cichlids..
So getting the fishroom for nothing was a bonus....
I am retired/disabled (no one wants a deaf person around them) and so money is an issue... Thats why I am a scavenger and will not throw things away.
The other thing is that we downsized our 3 bedroom, two story high, double car garage and basement home to a single level, single garage, two bedroom with no basement duplex... cheaper, easier to heat and maintain.
But now we have to be extreme effiecient to the maximum possible. We have bunk beds, My wife sleeps on the top and I on the bottom as it gives us more room in the bedroom.. She is not crazy about it... but it works..
So here we go....
Understand that the first set of pictures your going to see is wood that came out of a salvaged swing set with fort attached to it... the wood was painted blue and had been up in the yard for over two years.. Sooo this is where the upright posts came from as well as some of the top braces.. Don't laugh... The stepson paid over three hundred dollars for the wood and I was darned if I was going to let it be burned up.
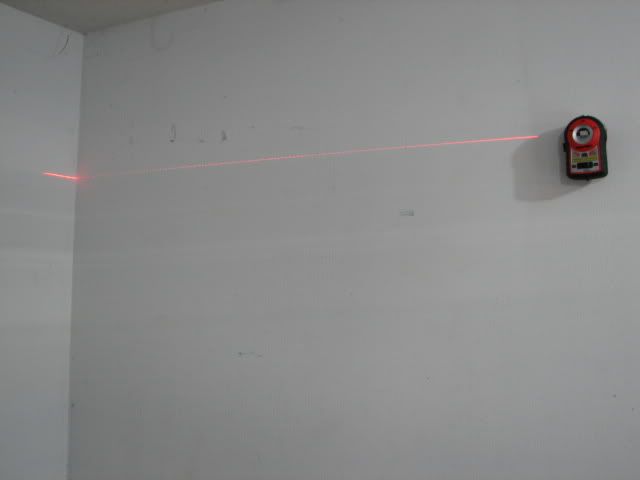
One of my first purchases was to replace a wall laser unit that gives a good plumb level. Notice the following pictures
I put the height of the room at 79 inches in order to give me 19 inches clearance on the top for all the totes that will be stored eventually up there.
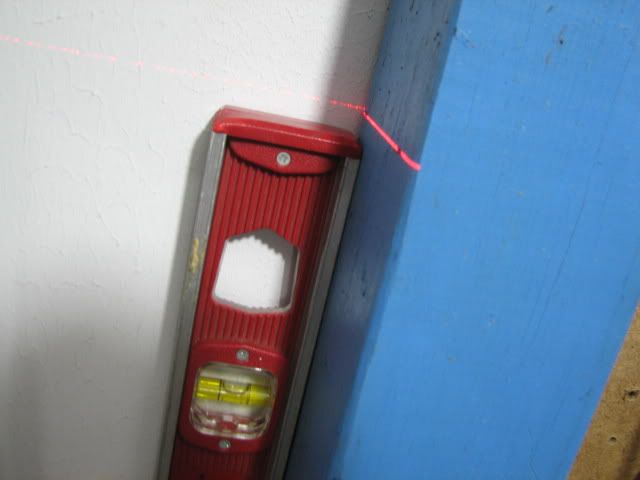
Next picture is making marks for the line up of the cutting of the 4 by 4's uprights.
You will notice that I have a level for the upright portion and then the laser line on where it needs to be cut from the other upright post which was also marked accordingly.
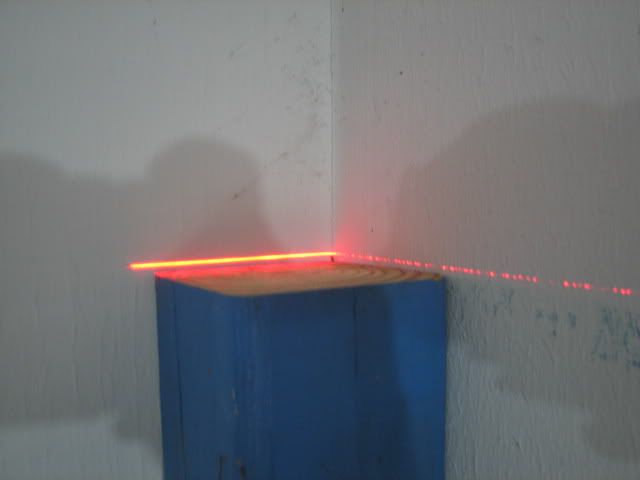
The next picture shows I pretty much got the cut to the point of where I wanted it.
The older wall laser I was using was only opened on one side and on the top side. It fell and I could not get it repaired so went out a got a new one for 39 dollars that had the openings on both sides and top side... it also had some other features like being able to pin into the wall. The laser assembly does not need to be straight in itself as it is a auto weighted assembly and will be level in any setting.
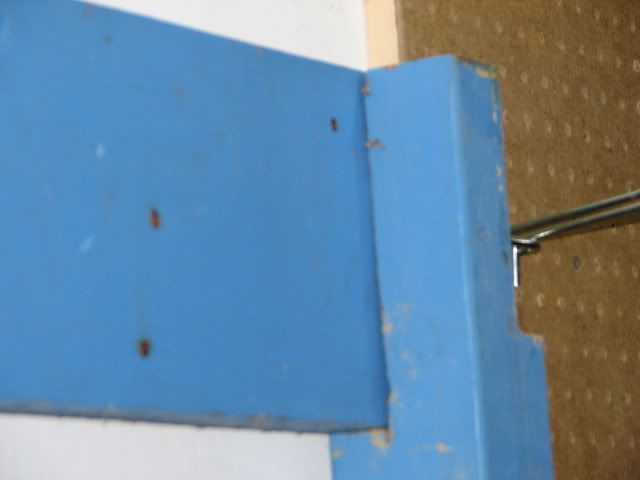
The next two pictures are of notching the 4 by 4's in order to keep the braces level with the posts and also because the wall that this is shown on is the wall to the next door garage and it has no insulation... By having the braces level with the posts.. I am able to insulate with blue foam from top to bottom.
and the following braces going from one end to the other end and the top brace is completely level.
Now you see the beginning.... and do understand I had to do all of this myself... No help from anyone else and so had to make do with creativity to be able to make this work. So far it has been a major blessing.
Bill


Comment